Getting Started

Quickstart

Get started with Monospace.

Get Started

Pre-requisite Docker Compose

Configure Docker Compose

Create a docker-compose.yaml file with your Monospace configuration. This example sets up:

  • Monospace — the application
  • PostgreSQL — system database
  • RabbitMQ — event bus for email delivery and webhooks
docker-compose.yaml
name: monospace

services:
  # ---------------------------------------------------------------------------
  # PostgreSQL — system database
  # ---------------------------------------------------------------------------
  postgres:
    image: postgres:17
    restart: unless-stopped
    command: postgres -c 'max_connections=200'
    environment:
      POSTGRES_USER: postgres
      POSTGRES_PASSWORD: monospace
      POSTGRES_DB: monospace
      POSTGRES_HOST_AUTH_METHOD: md5
      POSTGRES_INITDB_ARGS: --auth-host=md5
    volumes:
      - postgres_data:/var/lib/postgresql/data
    healthcheck:
      test: ["CMD-SHELL", "pg_isready -U postgres -d monospace"]
      interval: 5s
      timeout: 5s
      retries: 10
    networks:
      - monospace

  # ---------------------------------------------------------------------------
  # RabbitMQ — event bus (required for email delivery & webhooks)
  # ---------------------------------------------------------------------------
  rabbitmq:
    image: rabbitmq:3.13-management
    restart: unless-stopped
    environment:
      RABBITMQ_DEFAULT_USER: monospace
      RABBITMQ_DEFAULT_PASS: monospace
    volumes:
      - rabbitmq_data:/var/lib/rabbitmq
    healthcheck:
      test: ["CMD", "rabbitmq-diagnostics", "-q", "ping"]
      interval: 10s
      timeout: 5s
      retries: 10
    networks:
      - monospace

  # ---------------------------------------------------------------------------
  # Key generator — ephemeral init container that writes JWT + KMS keys once
  # ---------------------------------------------------------------------------
  keygen:
    image: alpine:3.21
    command:
      - sh
      - -c
      - |
        set -e
        mkdir -p /keys
        # Only generate if keys don't already exist
        if ! [ -f /keys/jwt_private.pem ] || ! [ -f /keys/jwt_public.pem ] || ! [ -f /keys/kms_master.key ]; then
          apk add --no-cache openssl > /dev/null
          openssl genpkey -algorithm ED25519 -out /keys/jwt_private.pem
          openssl pkey -in /keys/jwt_private.pem -pubout -out /keys/jwt_public.pem
          openssl rand -base64 32 | tr -d '\n' > /keys/kms_master.key
          echo "Keys generated."
        else
          echo "Keys already exist, skipping generation."
        fi
        chown 65532:65532 /keys/jwt_private.pem /keys/jwt_public.pem /keys/kms_master.key
        chmod 600 /keys/jwt_private.pem /keys/jwt_public.pem /keys/kms_master.key
    volumes:
      - keys_data:/keys

  # ---------------------------------------------------------------------------
  # Monospace — the application
  # ---------------------------------------------------------------------------
  monospace:
    image: monospace/monospace:v0.4.0
    restart: unless-stopped
    depends_on:
      postgres:
        condition: service_healthy
      rabbitmq:
        condition: service_healthy
      keygen:
        condition: service_completed_successfully
    ports:
      - "8100:8100"
    volumes:
      - keys_data:/keys:ro
      - uploads_data:/uploads
    environment:
      # Server
      MONOSPACE_HOST: "0.0.0.0"
      MONOSPACE_PORT: "8100"
      MONOSPACE_BASE_URL: "http://localhost:8100"

      # System database
      MONOSPACE_SYSTEM_DATABASE__PROVIDER: "postgres"
      MONOSPACE_SYSTEM_DATABASE__HOST: "postgres"
      MONOSPACE_SYSTEM_DATABASE__PORT: "5432"
      MONOSPACE_SYSTEM_DATABASE__USER: "postgres"
      MONOSPACE_SYSTEM_DATABASE__PASSWORD: "monospace"
      MONOSPACE_SYSTEM_DATABASE__DBNAME: "monospace"

      # File storage (local, inside the container)
      MONOSPACE_SYSTEM_FILE_STORAGE__PROVIDER: "local"
      MONOSPACE_SYSTEM_FILE_STORAGE__ROOT_PATH: "/uploads"

      # RabbitMQ
      MONOSPACE_RABBITMQ__HOST: "rabbitmq"
      MONOSPACE_RABBITMQ__PORT: "5672"
      MONOSPACE_RABBITMQ__USER: "monospace"
      MONOSPACE_RABBITMQ__PASSWORD: "monospace"
      MONOSPACE_RABBITMQ__VHOST: "/"

      # JWT keys (generated by keygen init container)
      MONOSPACE_JWT_PRIVATE_KEY__FILE: "/keys/jwt_private.pem"
      MONOSPACE_JWT_PUBLIC_KEY__FILE: "/keys/jwt_public.pem"

      # KMS (generated by keygen init container)
      MONOSPACE_KMS__TYPE: "monospace"
      MONOSPACE_KMS__MASTER_KEY__FILE: "/keys/kms_master.key"

      # Auth tokens
      MONOSPACE_ACCESS_TOKEN_TTL: "15m"
      MONOSPACE_REFRESH_TOKEN_TTL: "7days"

      # Cookie — disable Secure flag so HTTP works out of the box
      MONOSPACE_COOKIE_SECURE: "false"
    networks:
      - monospace

volumes:
  postgres_data:
  rabbitmq_data:
  keys_data:
  uploads_data:

networks:
  monospace:

Start the Services

Launch all services using Docker Compose:

Terminal
docker compose up -d

Wait for all containers to start (this may take 1-2 minutes on first run).

Verify services are running:

Terminal
docker compose ps

Access the Studio UI

Once all services are running, access the Monospace Studio interface:

Studio UI: http://localhost:8100

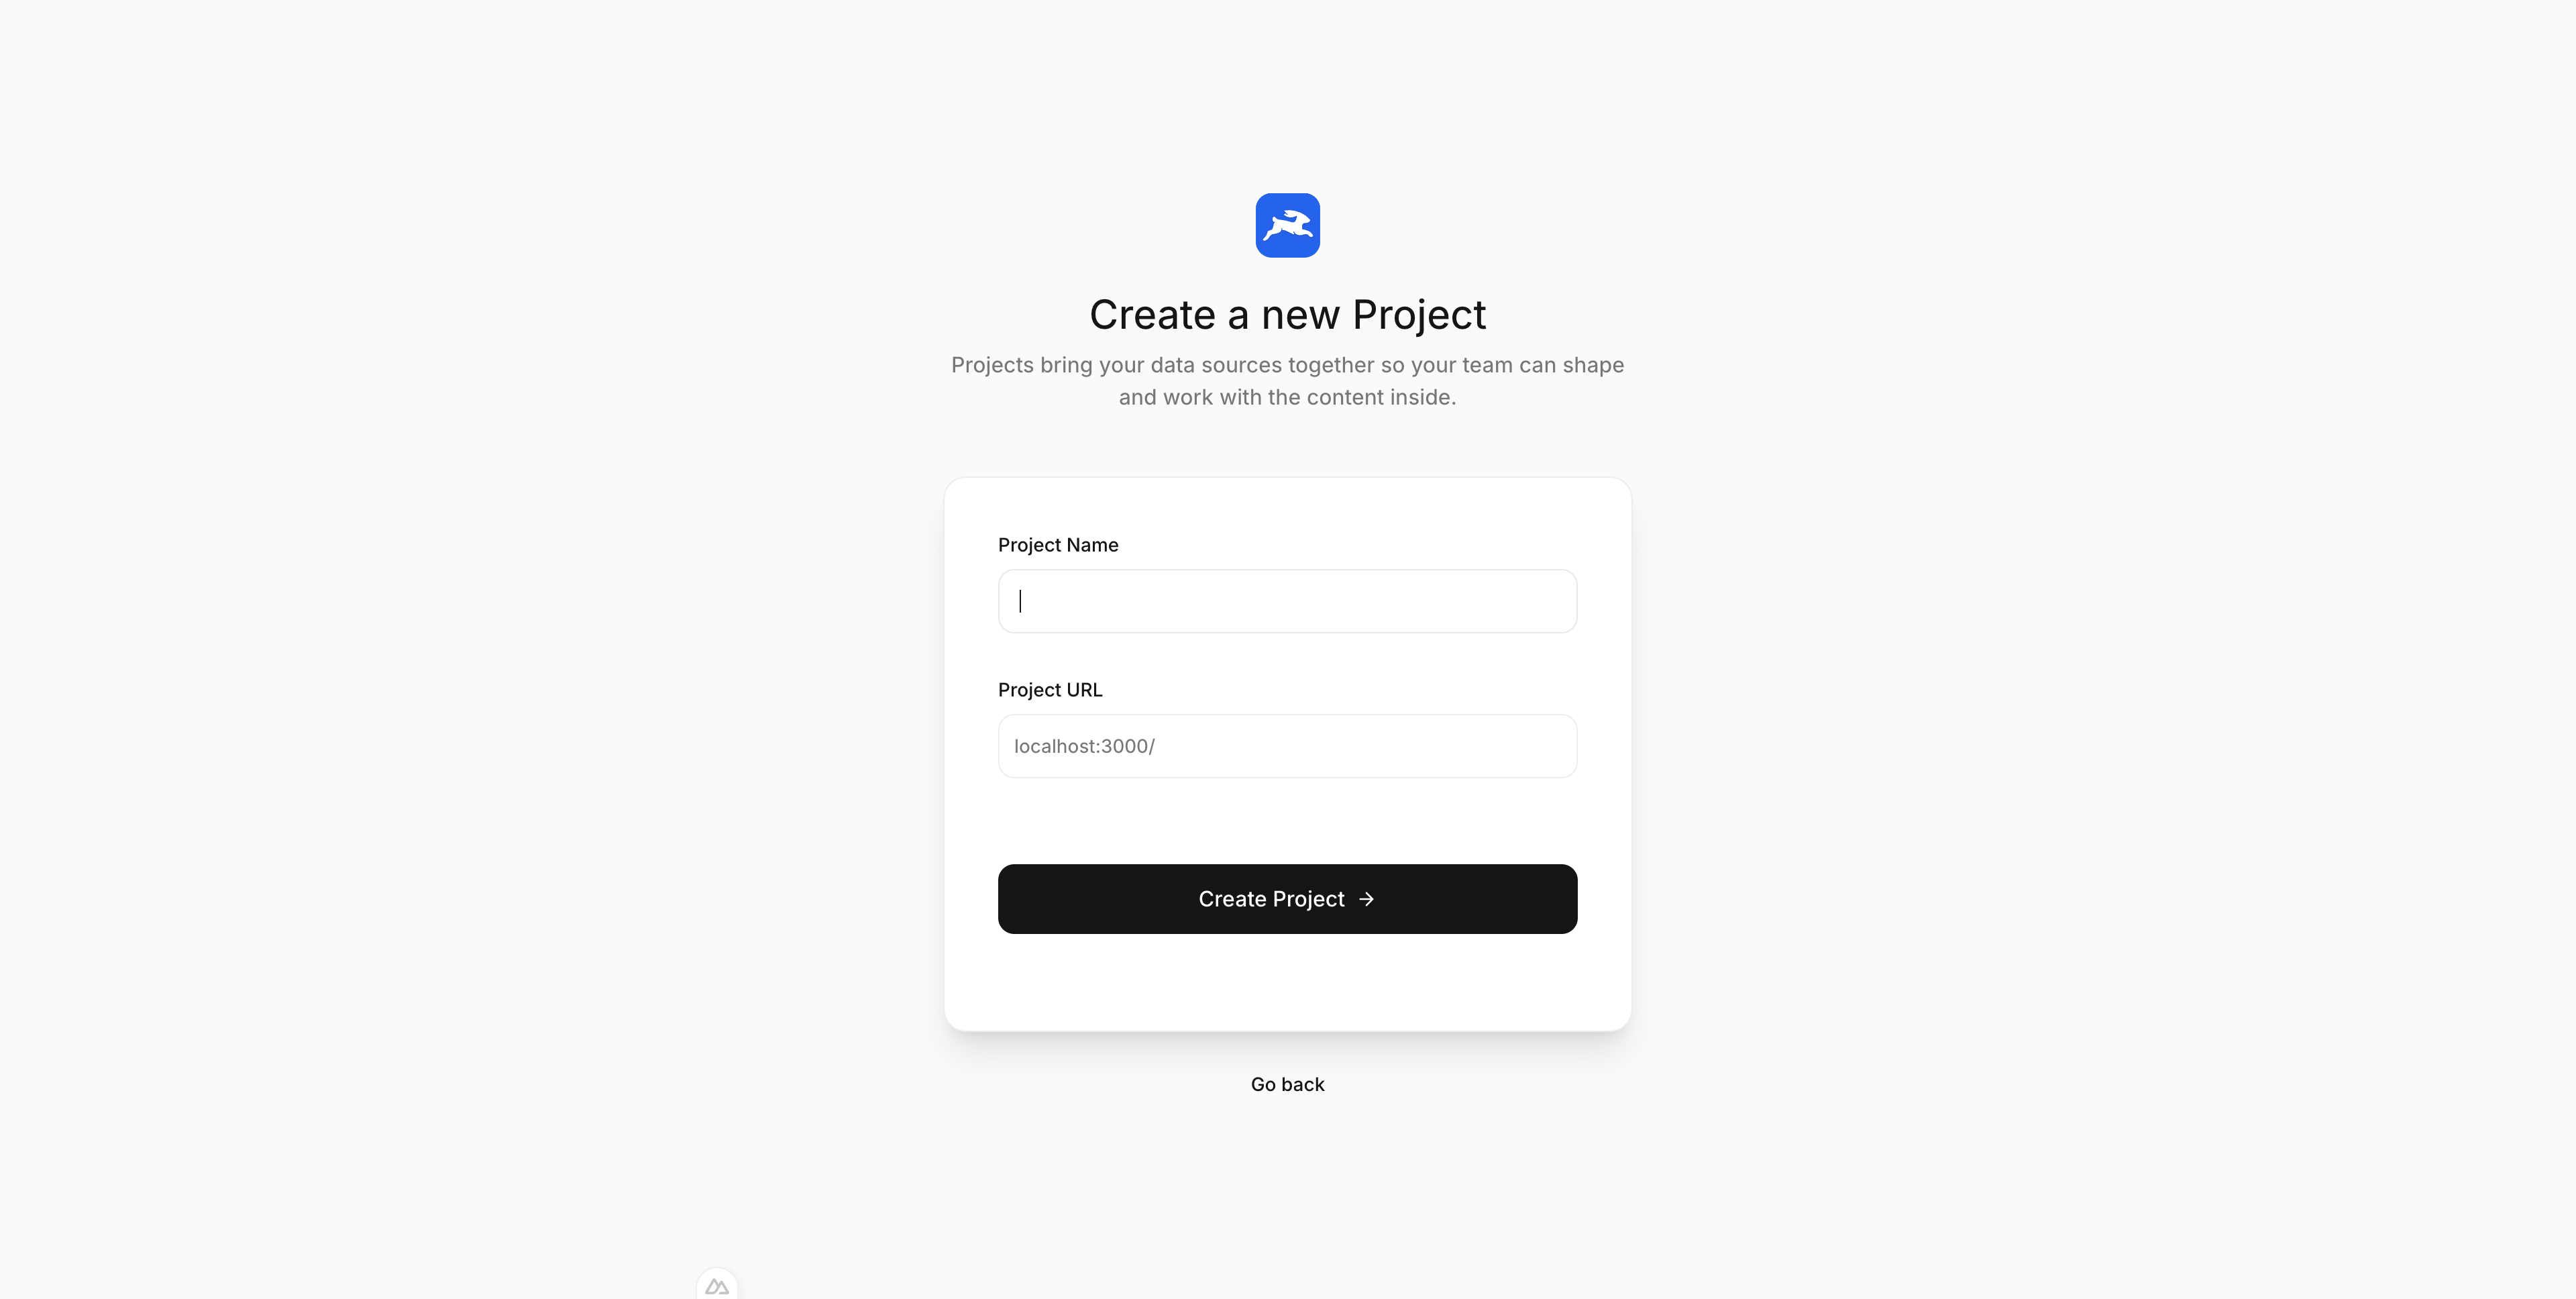
Create Your First Workspace

Your organization is the top-level tenant. Within an organization you have workspaces that contain your schemas and data source connections.

Create a new workspace and specify:

  • Workspace Name
  • Workspace URL

Configure a Data Source

A system database is already configured via Docker Compose and is sufficient for local development.
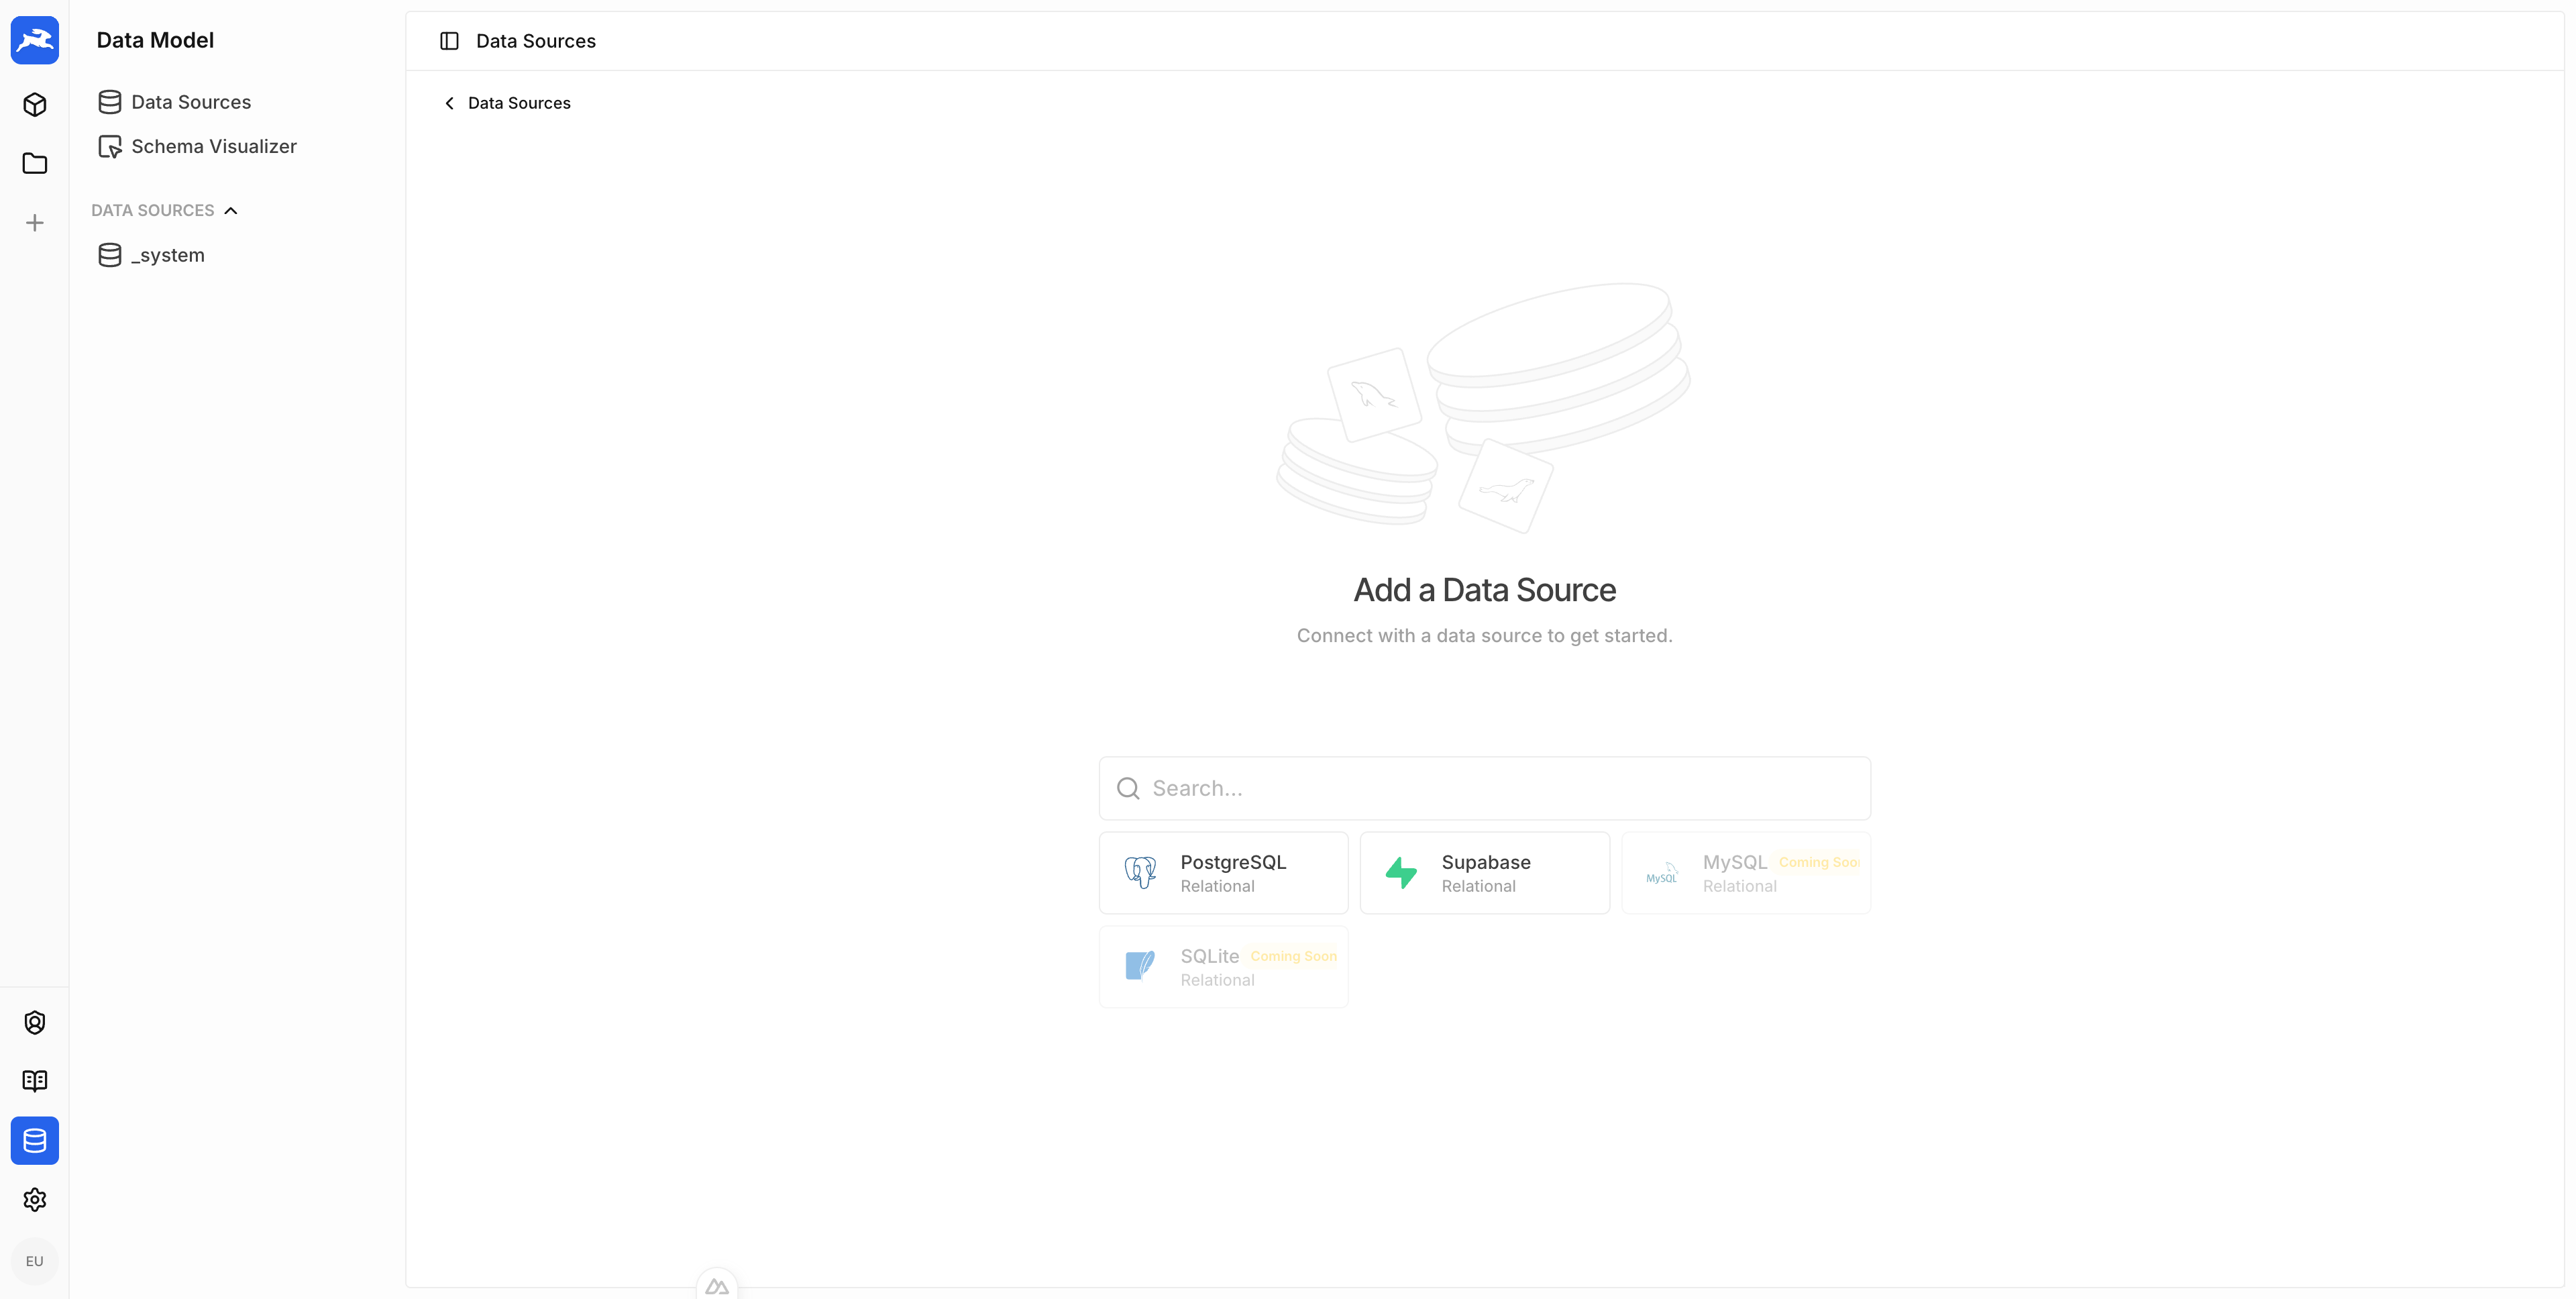
To add additional data sources, navigate to Data Model > Data Sources and choose from the available connectors. Connecting multiple databases to a single workspace is a core capability of the platform.
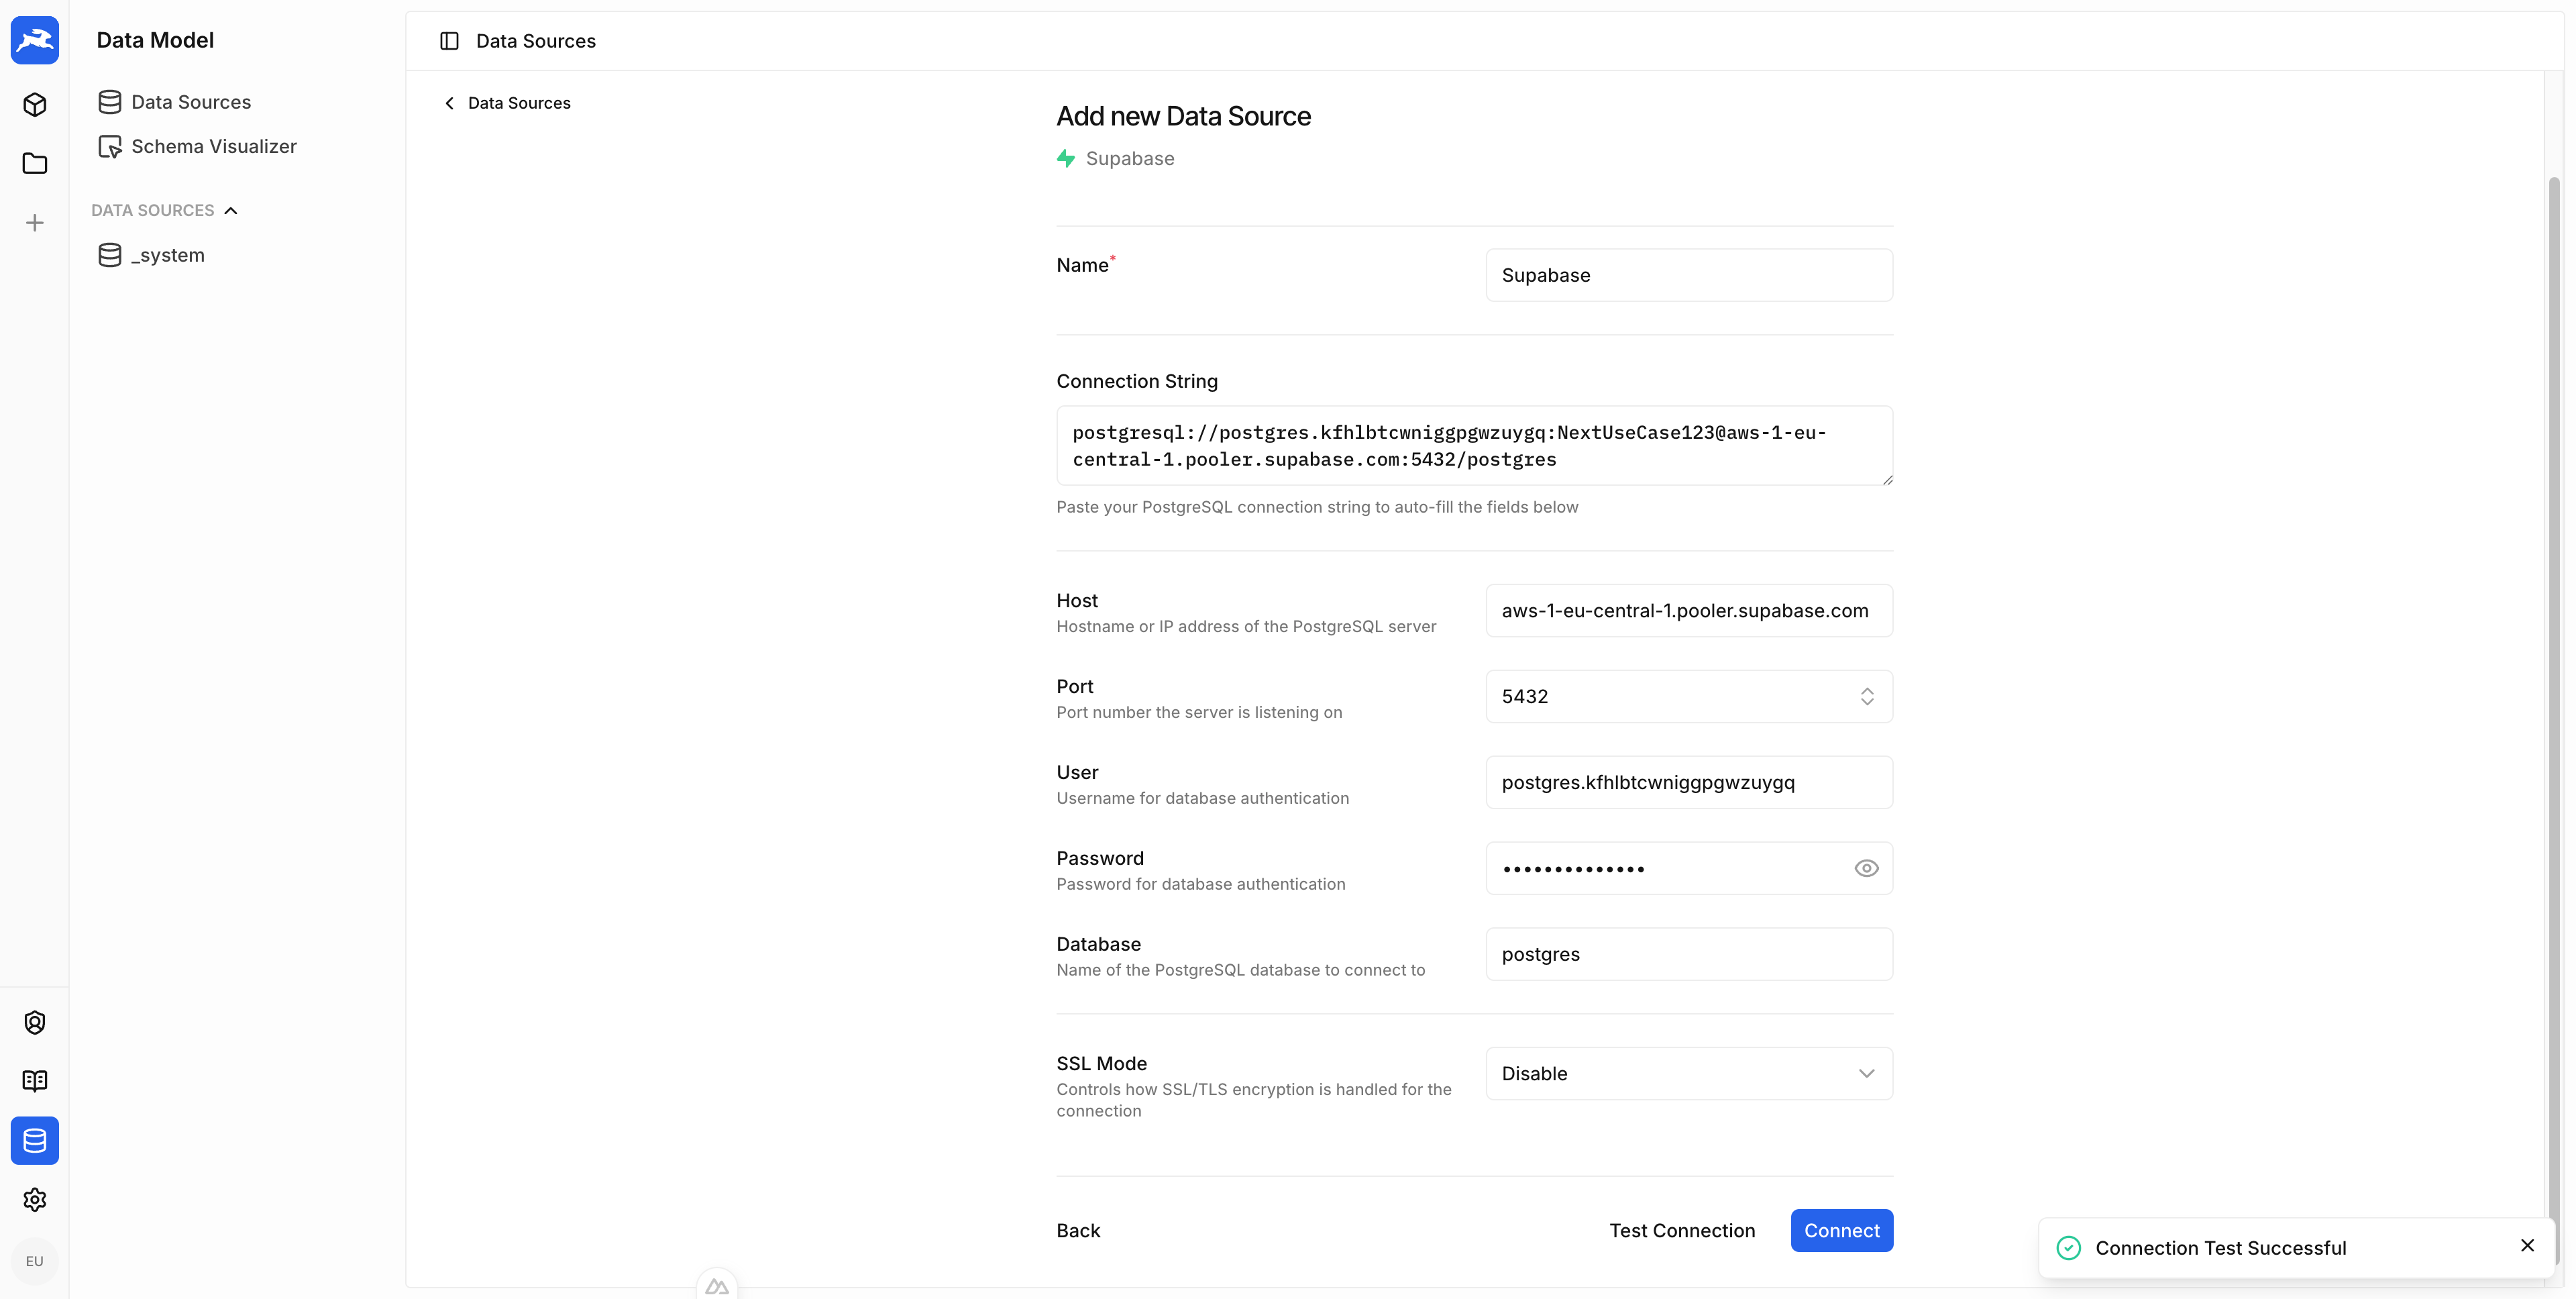
When connecting an existing database, Monospace uses Database Introspection to automatically map your schema to Collections.

Configure a Collection

Navigate to Data Model to view your Collections. If you connected an existing database, your tables will already appear as collections thanks to Database Introspection.

Each collection has tabs for managing Columns, Relations, and other configuration.
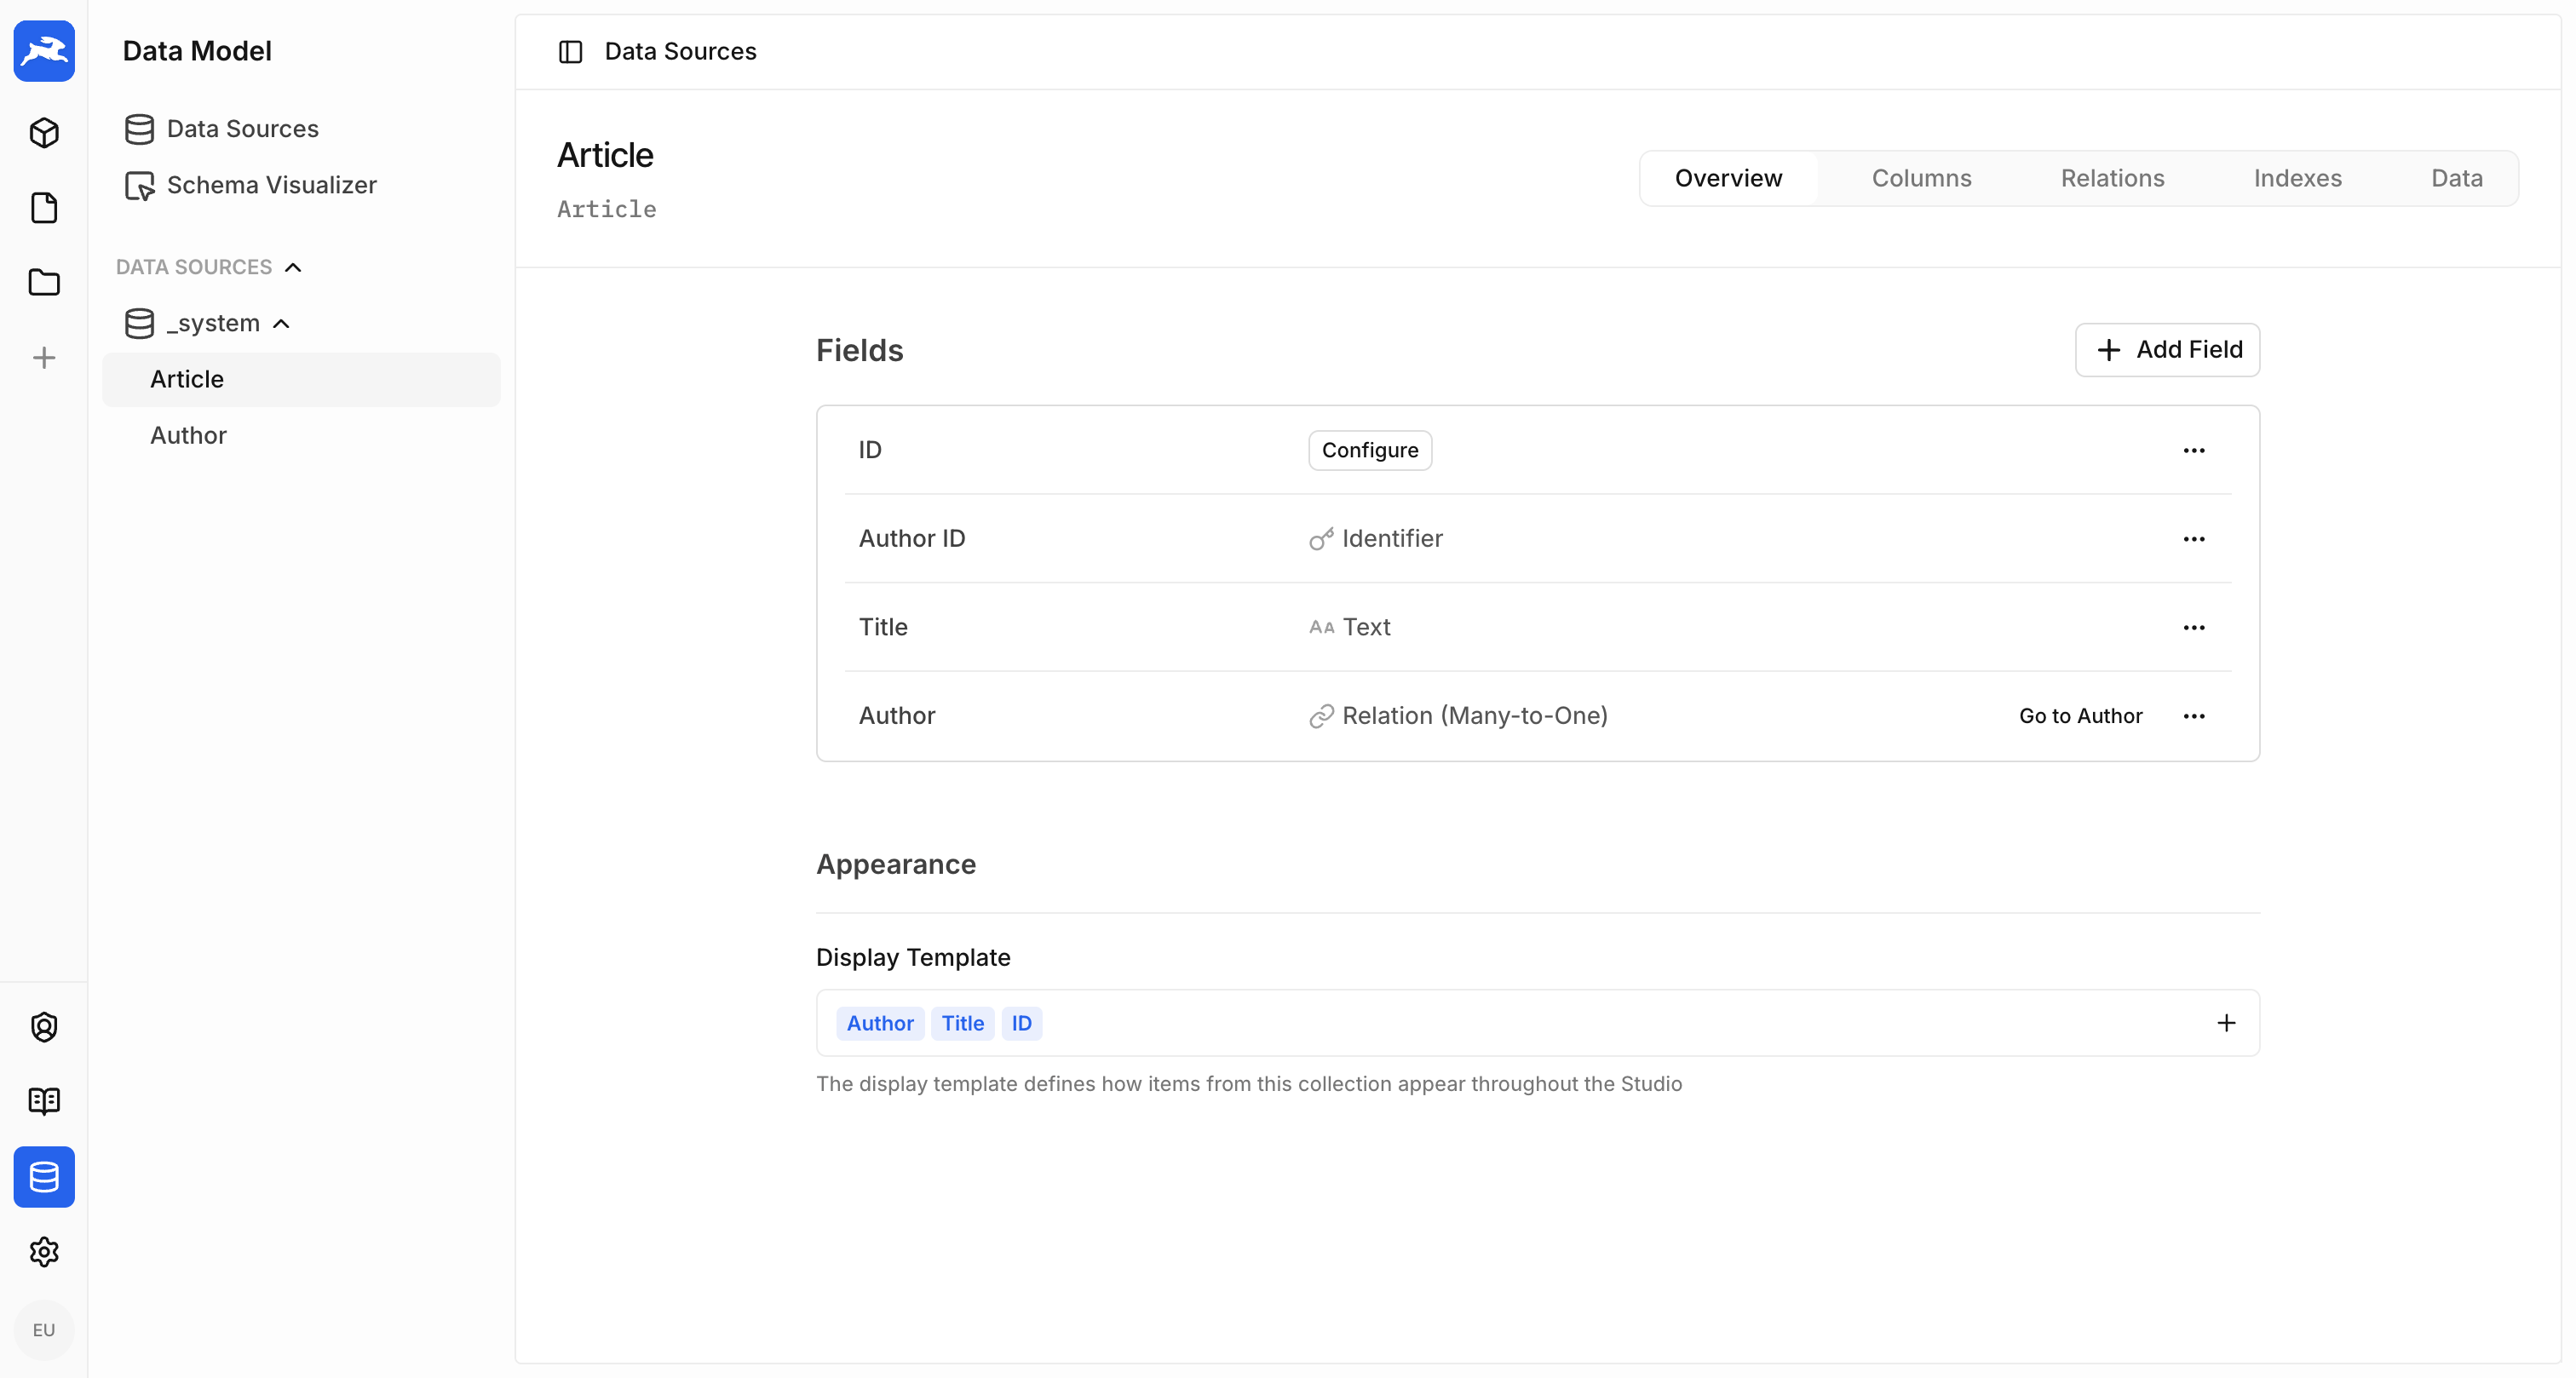
To create a new collection, click Add Collection and specify a name.
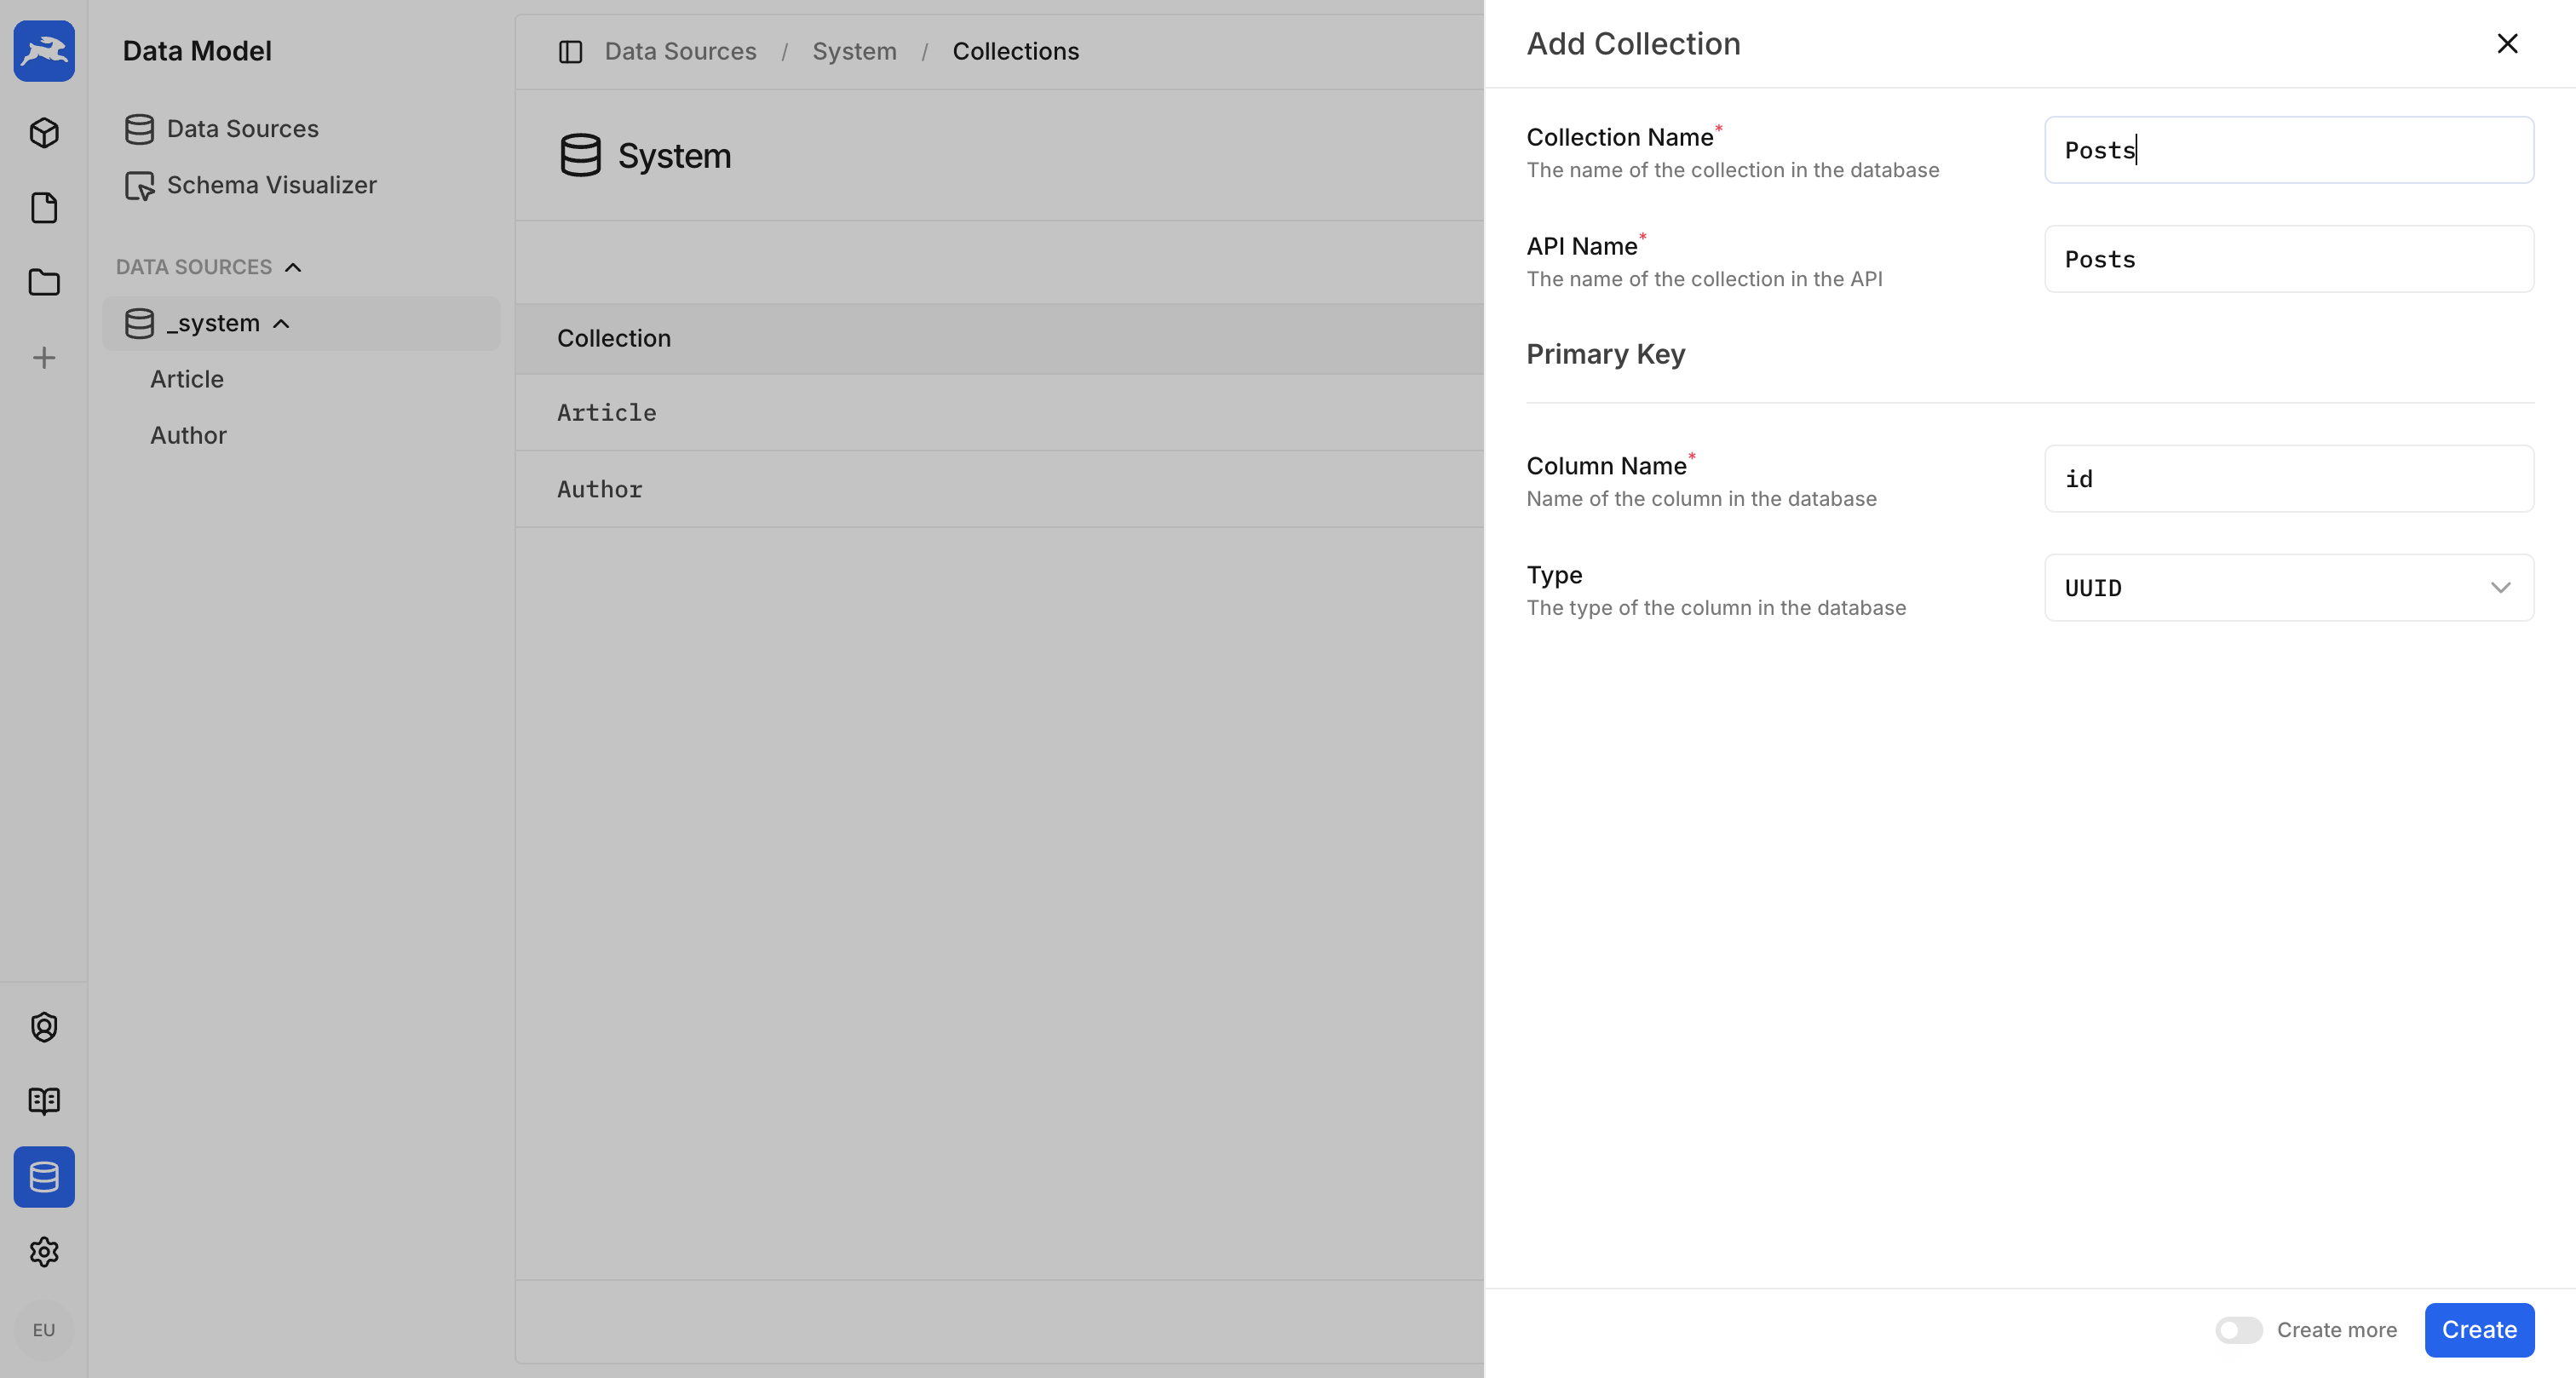
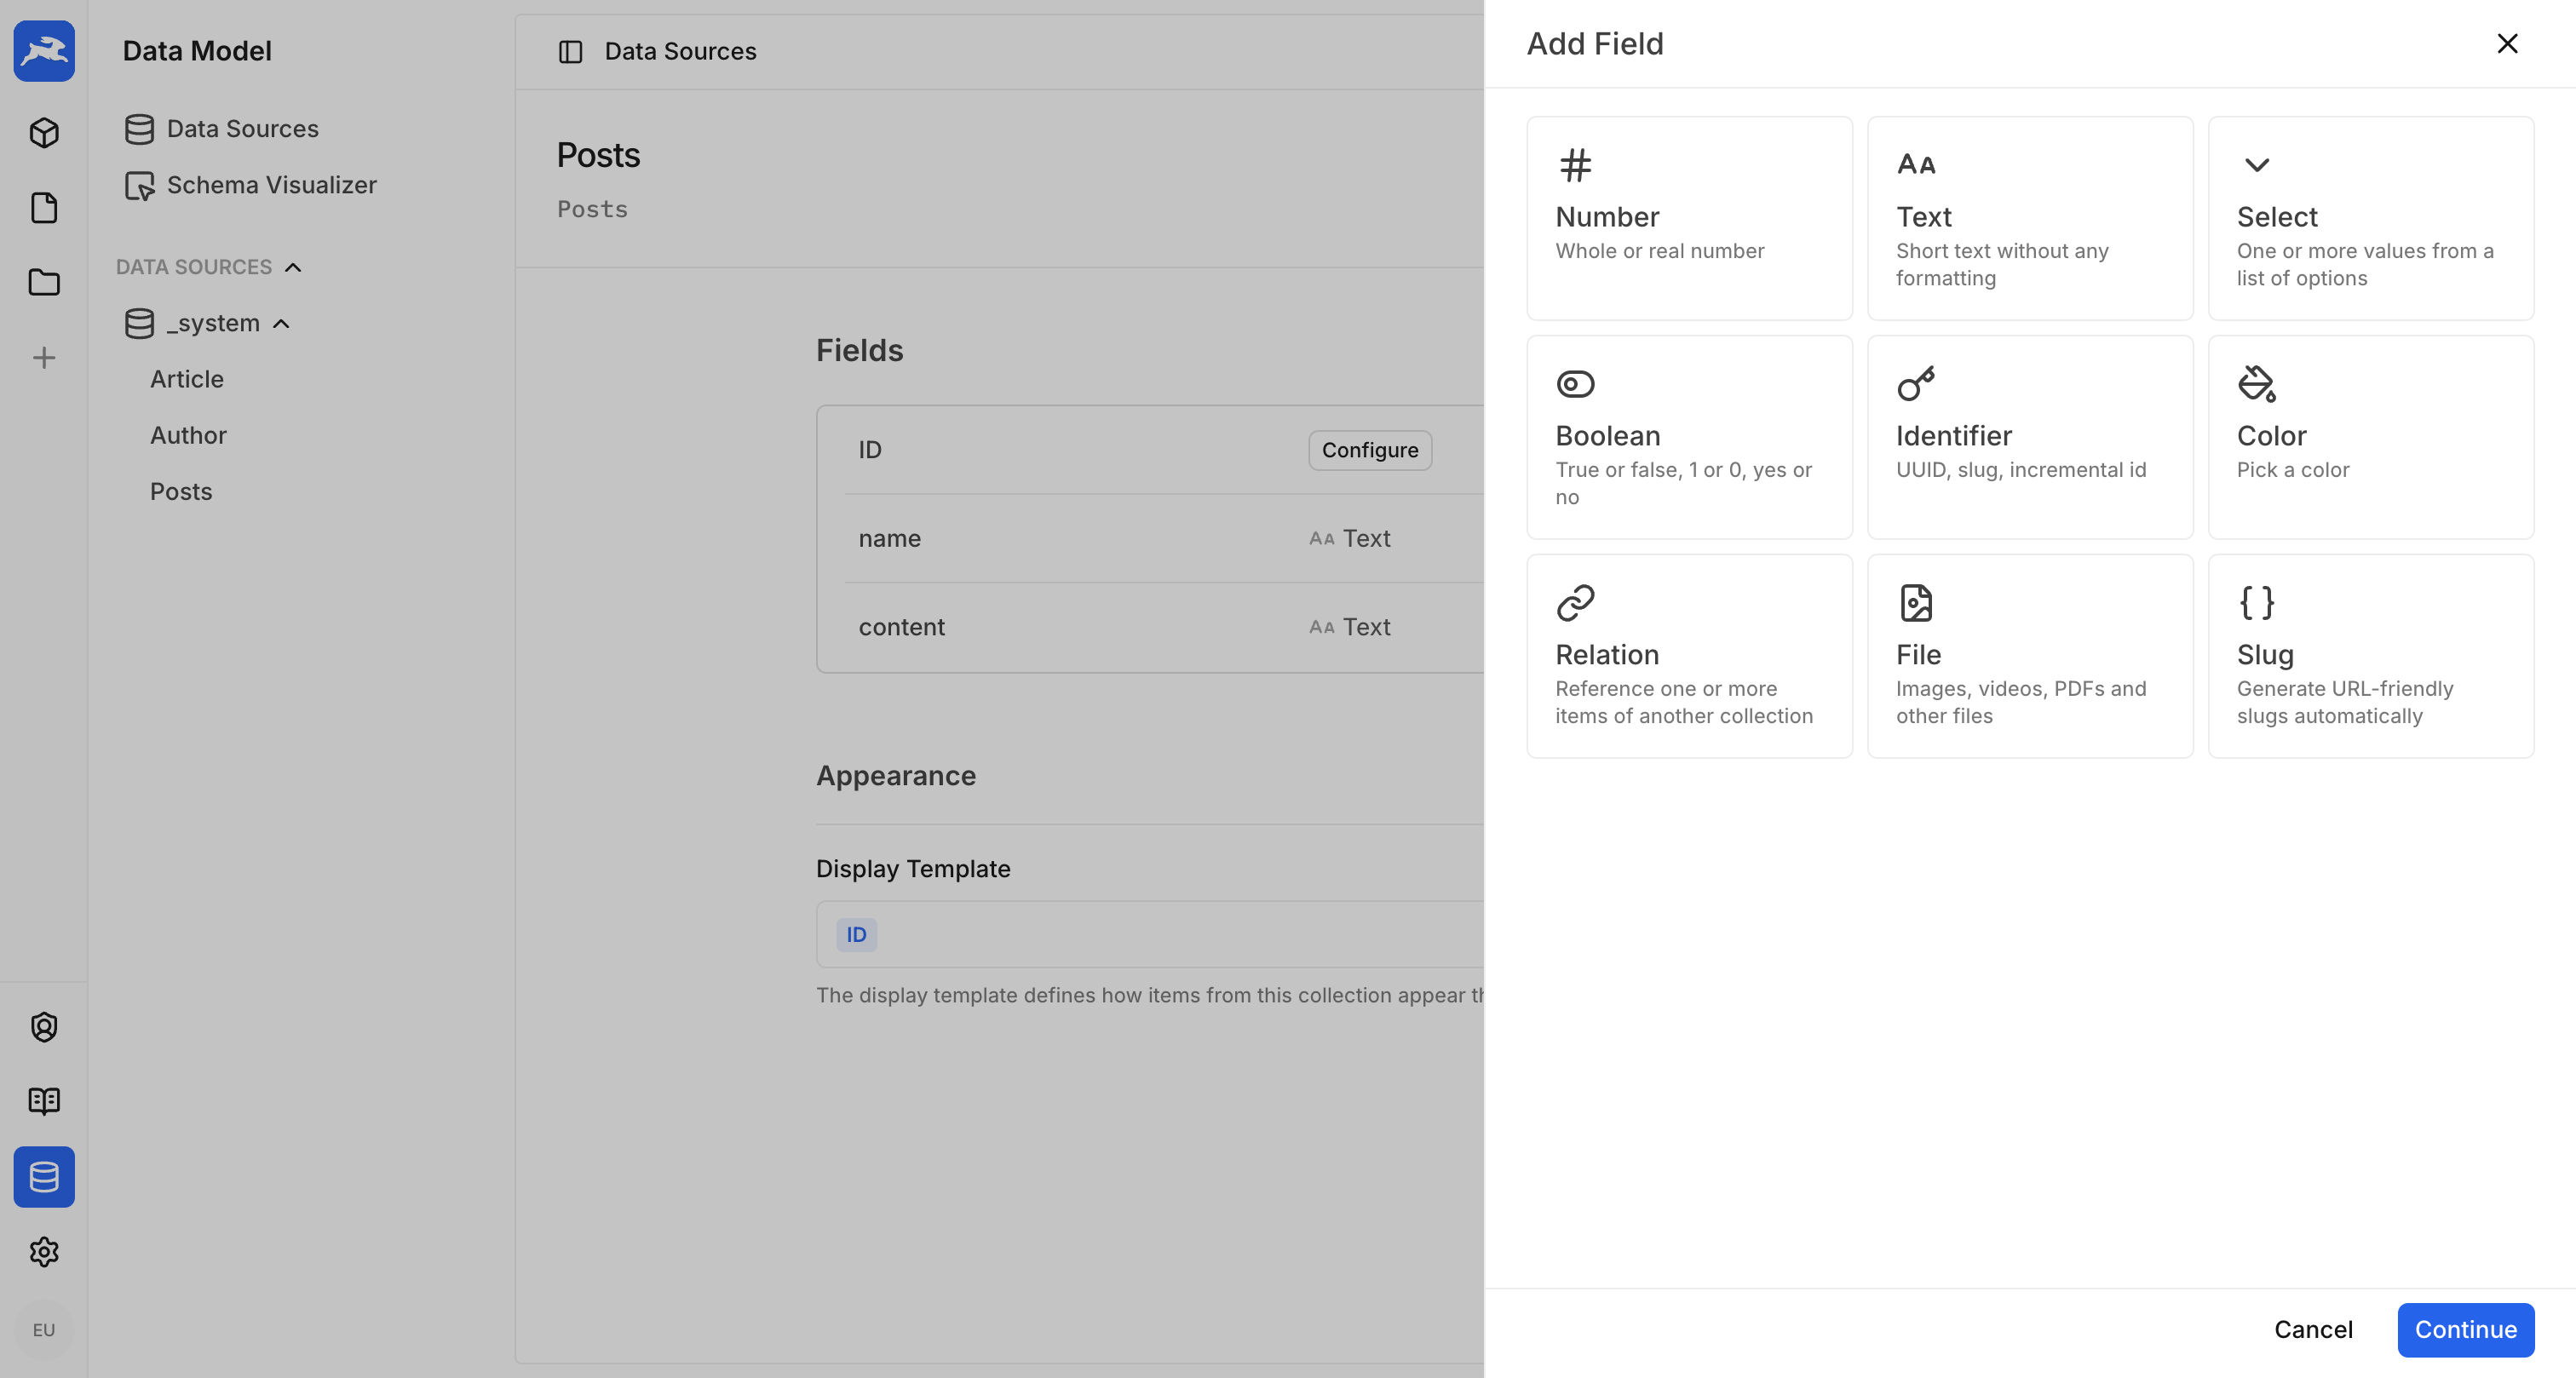
Once created, you can add columns to define the shape of your data.
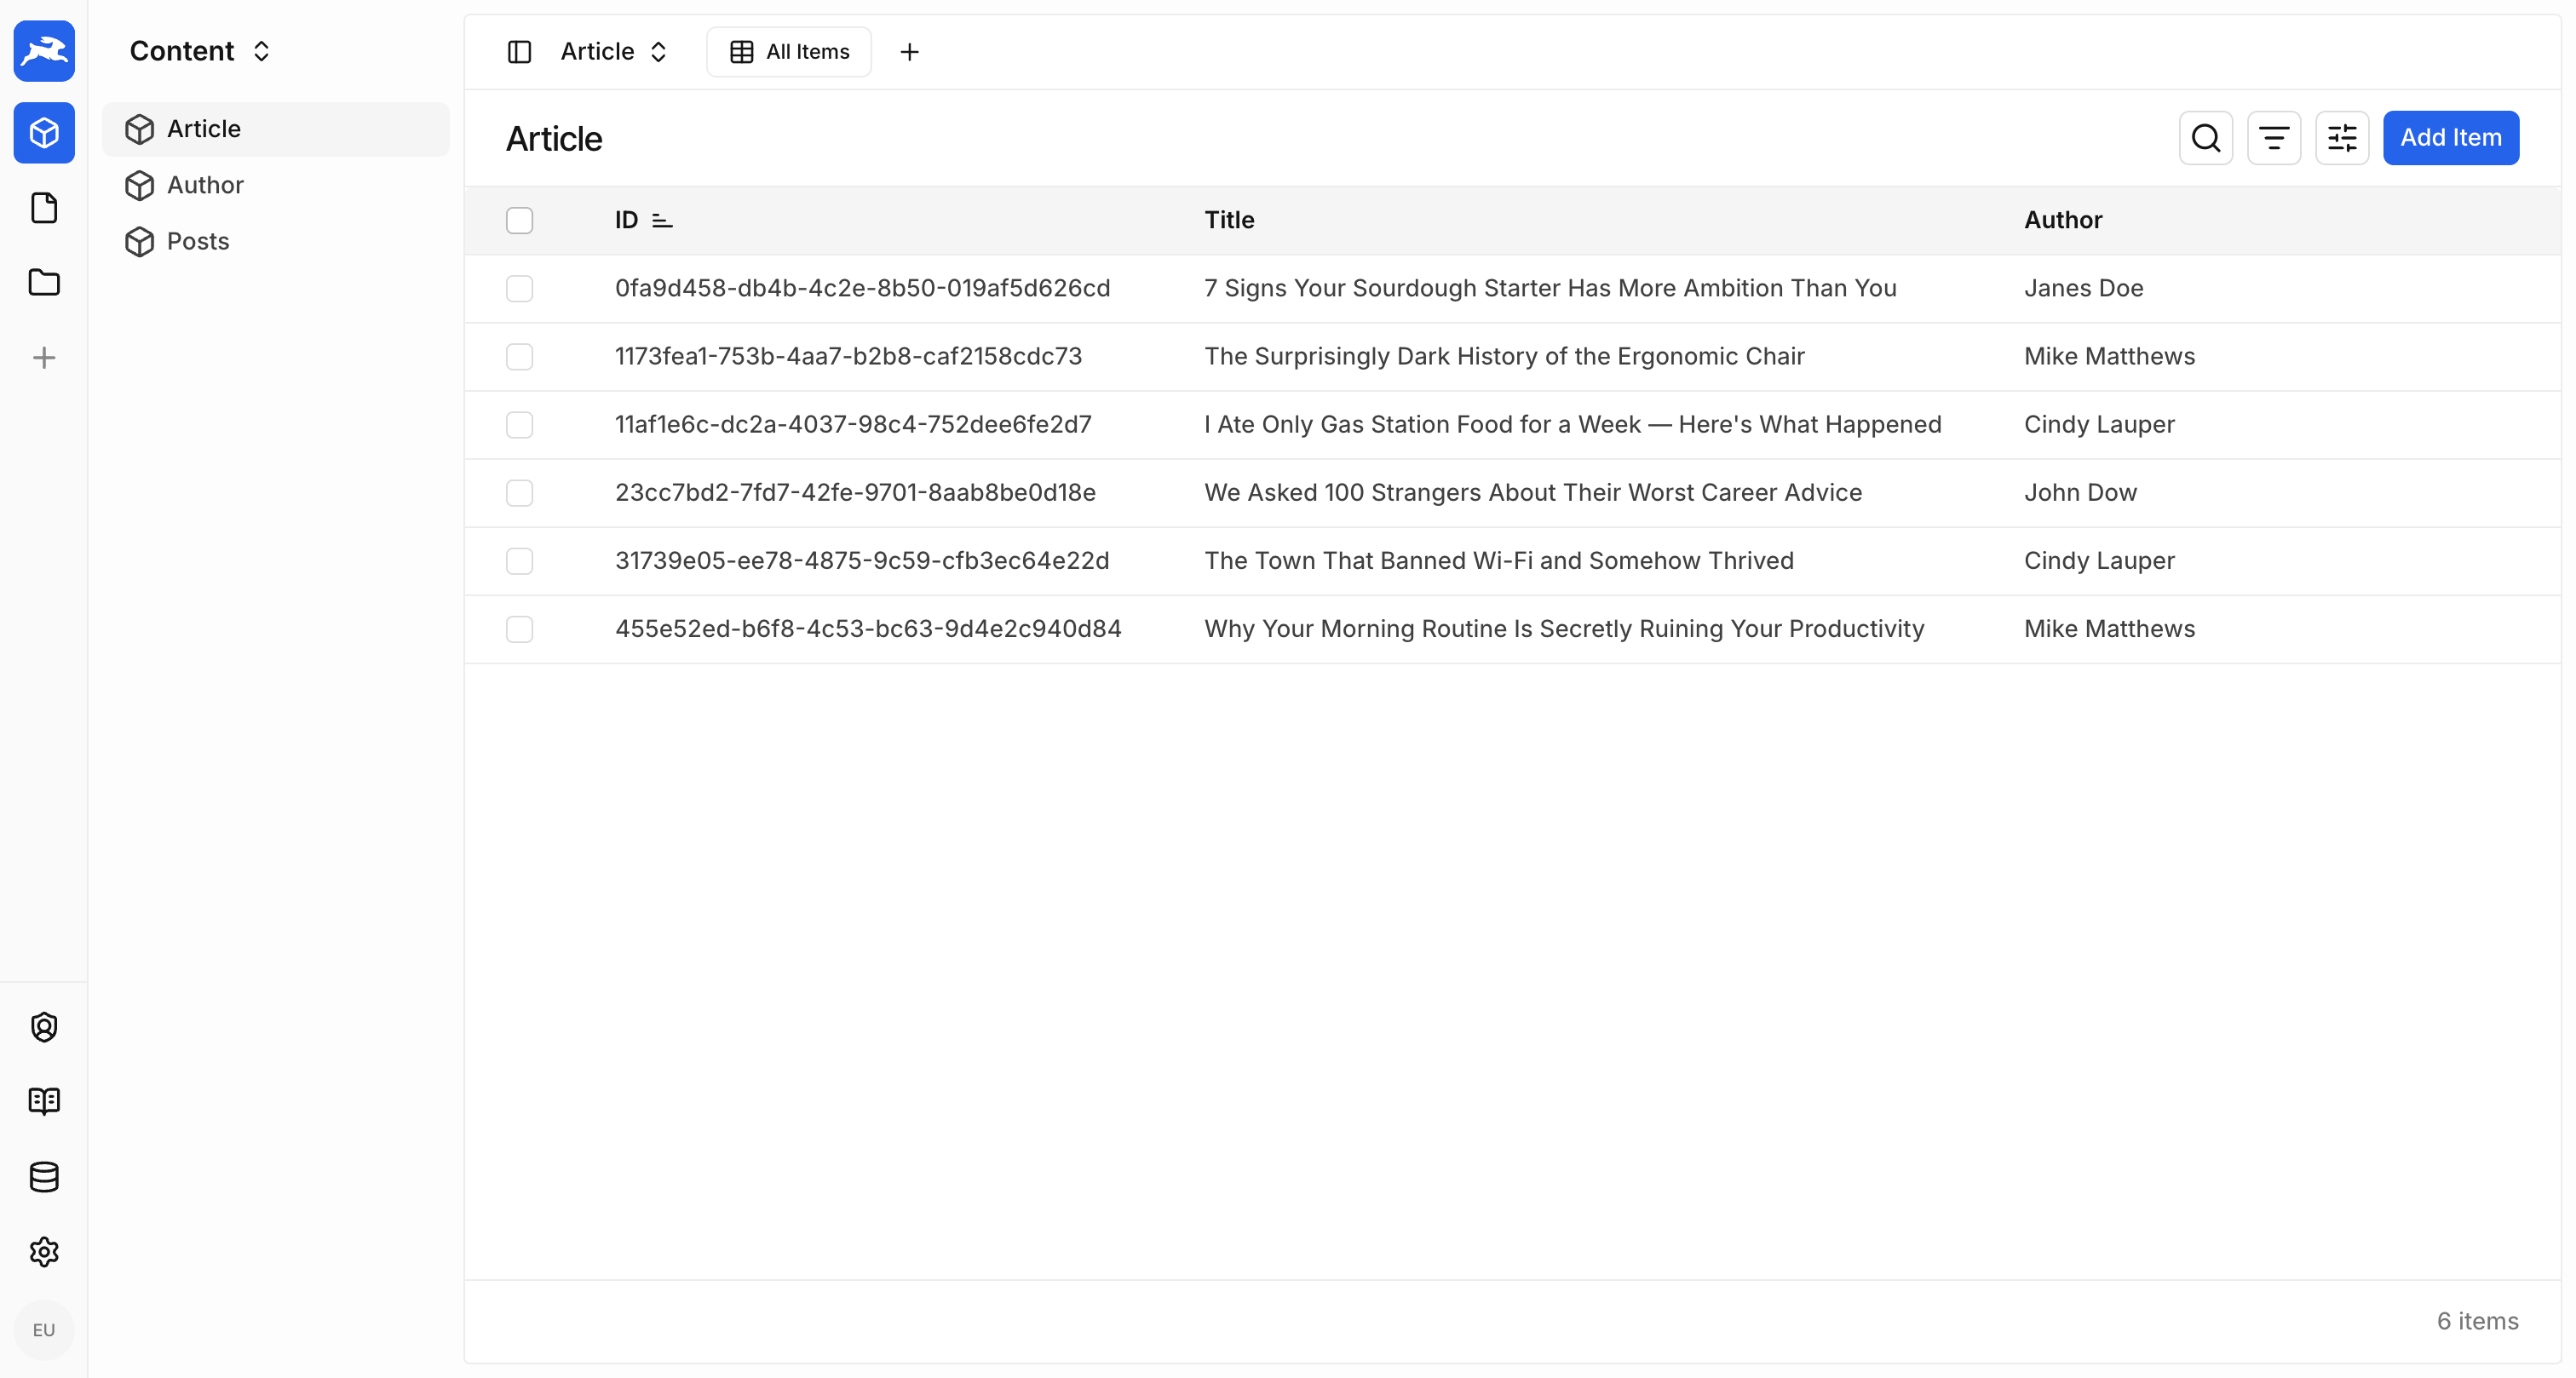
Manage Your Data

Head to the Content module to browse, create, and edit items within your collections.
Next Steps

Now you're up and running with the basics. Explore the platform further:

Copyright © 2026